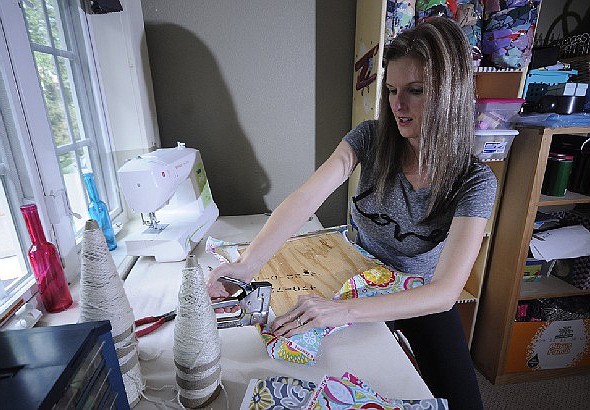
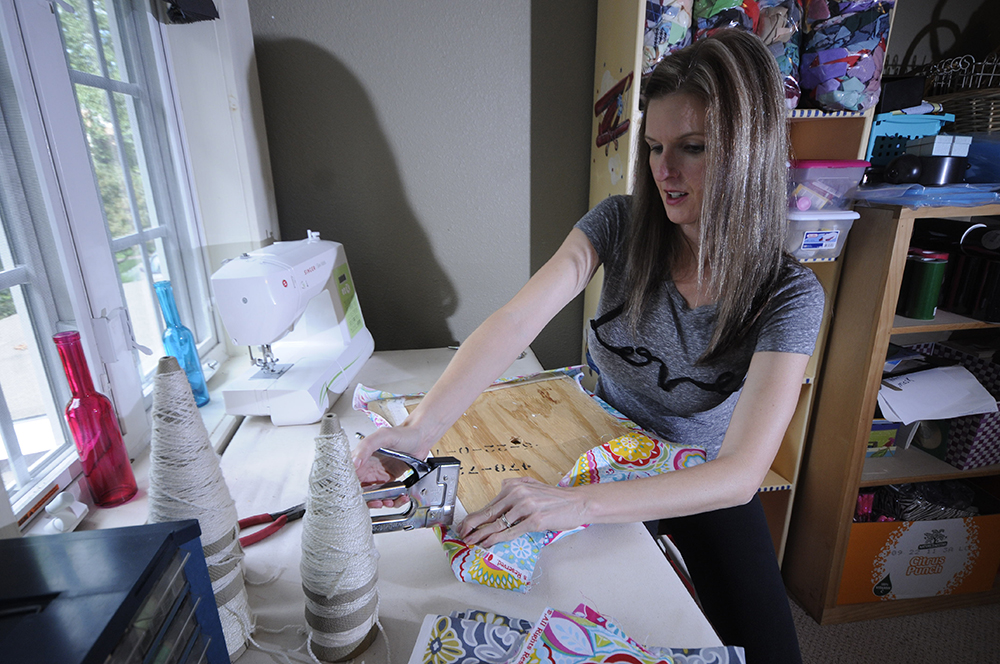
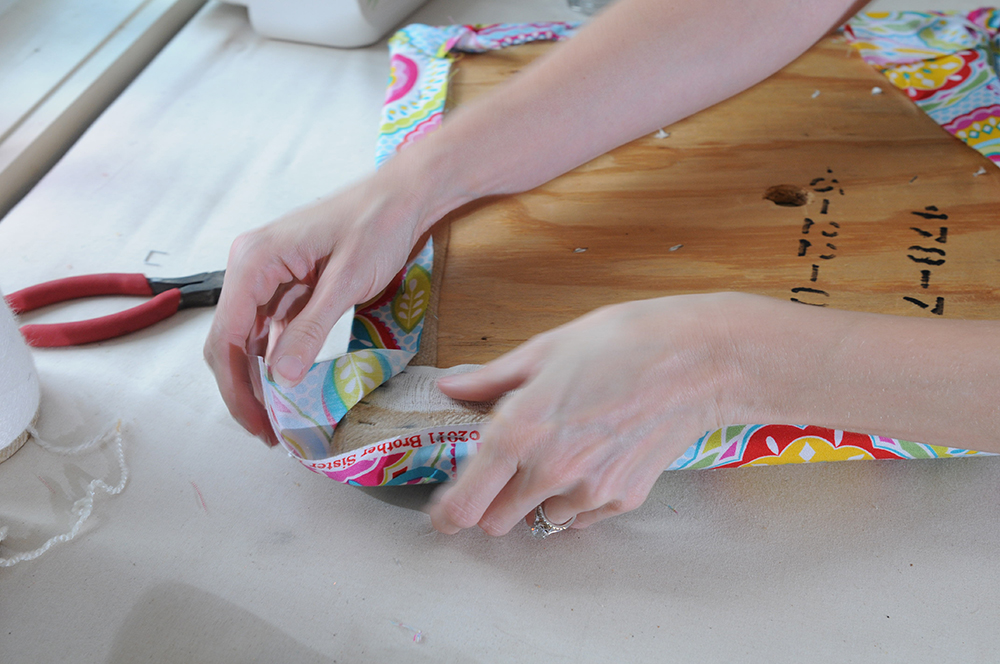
 Lindy Smith staples new fabric to reupholster the seat of an old chair in her home workshop.
TOOLS OF THE TRADEYou can start with a flathead screwdriver, pliers and a stapler, but as you get more serious, you'll want to get several of these also:• Staple gun: Pneumatic is best, but a heavy-duty will work.• Upholstery tacks: When not using staples.• Rubber mallet or magnetic hammer: For hammering in the tacks without damaging the wood.• Staple puller or ripping chisel: For getting the old ones out.• Upholstery pins: Especially helpful when working alone for holding fabric in place.• Webbing stretcher: Helps get the fabric tight and holds it in place.• Sharp scissors: You'll want clean cuts.• Needle-nose pliers: For those hard-to-reach staples, and you can hold a tack with them while you get it started.• Hot glue gun: Can be used to hold materials in place.• Utility knife: For material removal and cleanup.• Regulator: It looks like a long needle, but is heavier and used for moving stuffing around.• Flathead screwdriver: Used for many things, including staple removal.
 Lindy Smith staples new fabric to reupholster the seat of an old chair in her home workshop.
When Lindy Smith found a dining room table and five chairs at a thrift store, she snatched them up with the idea that she would replace the old, tattered, non-matching fabric herself.
Only problem: She had zero upholstery experience.
So the Brainerd resident did what all would-be do-it-yourselfers do these days, she got online and started watching how-to videos. She also reached out to friend and professional upholsterer Lori Coleman, owner of The Brick Path Studio, a home decor business in Red Bank. And she started looking for projects to practice on.
"I've done a couple of just basic antique chairs that I find at thrift stores," she says.
Coleman, who once worked at a La-Z-Boy, has taught upholstering at Chattanooga State Community College in the past. DIY upholstering is a great way to dress up a quality piece of furniture for not a lot of money, she says.
"People are buying the older furniture because they are able to find good quality pieces," Coleman says. "They are stronger, and they hold up."
Having a piece professionally done can cost hundreds of dollars, whereas doing it yourself costs you time, a few yards of fabric, some foam and staples.
"There are so many great fabrics out there," Smith says. "I try to buy it on sale and it usually takes less than a yard, so about $4 or $5 in fabric, and I try not to spend more than $5 or $10 on a chair."
Of course, not every piece that could use a little love comes from a thrift shop or a yard sale. Many people have pieces that once belonged to their mother or a grandparent. While they might have plenty of sentimental value, they are often worn and/or outdated. Putting in new cushions and a fresh piece of fabric can bring them back to life.
So far, Smith has kept things pretty simple, both in the chairs she tackles and the work she does. She hasn't gotten into refinishing the wood of the chairs, for example.
"I paint the chairs and put new fabric on them. These are practice, and I've been upcycling."
Depending on how much material needs replacing, she can replace the fabric in as little as 30 minutes. If the chair needs new padding or cushion or if the webbing must be replaced, it can take longer.
Her only real purchase as far as tools has been a quality staple gun. Her biggest learning curve so far has been removing the old fasteners from the chairs.
"The first one took forever to pull the old staples, but Lori gave me a few pointers."
Fear -- especially fear of sewing -- blocks many would-be upholsterers from even starting, Amanda Brown, author of "Spruce: A Step-by-Step Guide to Upholstery and Design," told the Sacramento Bee newspaper.
"But upholstery doesn't have that much sewing; it's more hammering and stapling," she says.
Still, it's an intimidating process to just dive into, she admitted. Along with the physical part, upholstery has its own lexicon of specialized terms such as gimp (woven decorative trim) and bridle ties (hand-sewn stitches that attach padding to furniture).
"I remembered the struggles I had," she said. "I needed help -- and a dictionary.
"Until you know the little tricks ... it looks impossible," Brown said. "But step by step, inch by inch, you can break it down and get it done."
Coleman agrees that there is a learning curve with upholstering. It looks easier than it is sometimes, but if you start small, you will pick up the tricks along the way.
"I think it is easy to pick up on your own, and it takes very few tools to get started. But start on smaller projects," she says. "It does take a bit of experience, and there are some things that are universal to pieces of furniture, but there are also lots of variations."
Coleman suggests doing as Smith has done and start with relatively simple projects, like a chair with a removable seat. Don't start with something like a wingback chair, she says, because the angles and cuts make it the hardest piece of furniture to reupholster, at least for her.
Go online and read tutorials and watch as many videos as you can, and most importantly, study the way the piece was constructed before you take it apart. Very often you can use the old fabric as a template. You can also see how it was cut, where the folds are and staples were placed and, if it has it, how the piping was attached.
For Smith, the next step in her upholstery evolution is piping.
"Once I caught the bug and did the first one and got a lot of compliments, I was hooked."
Contact Barry Courter at bcourter@timesfreepress.com or 423-757-6354.