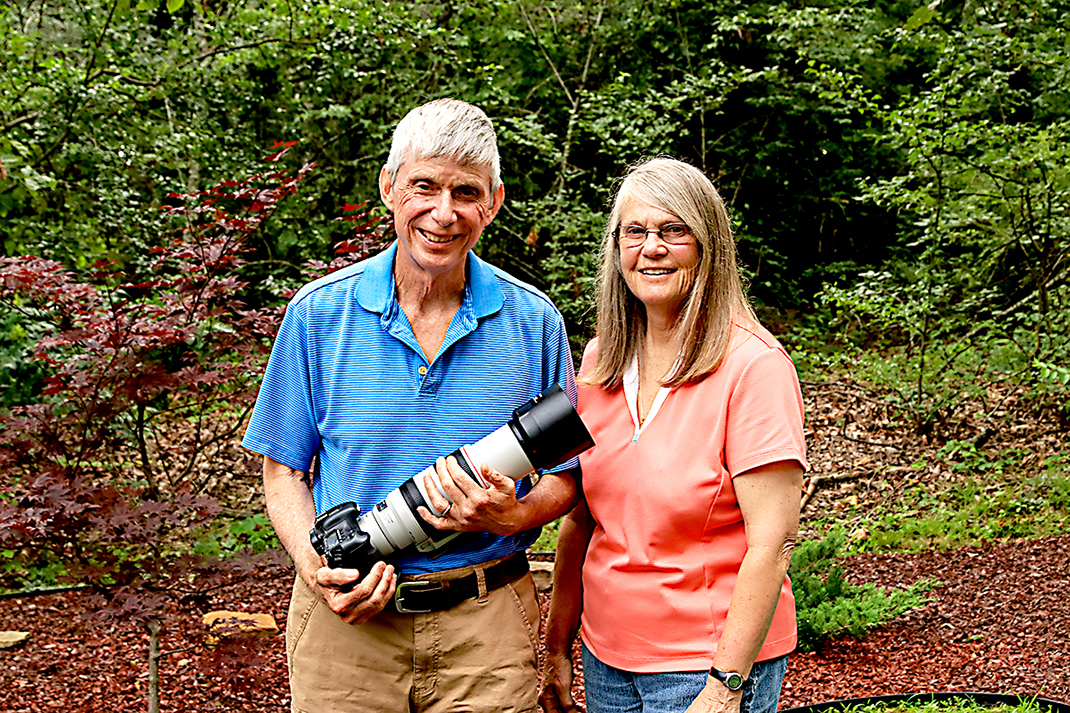
 Tom and Pat Cory
Before their photos ever graced the pages of publications like Outdoor Photographer and Nature's Best, Tom and Pat Cory were merely lovers of nature - though, like most, they never saw it. Not really.
When the Signal Mountain couple started photographing their outdoor excursions 30 years ago, they quickly began to realize how many of nature's little treasures were easily overlooked.
A hummingbird sipping nectar from honeysuckle. Water droplets beaded on an emerald fern. The petals of a wildflower unfolding to greet the morning sun. Noticing fine details like these changed the way they experienced the natural world.
"It can take us an hour to go half a mile these days," Tom admits.
"It can take us that long to go 10 feet sometimes," Pat laughs.
That eye for detail is not exclusive to professional photographers, says the couple, now owners of Cory Photography. Anyone can become a better photographer and gain a more intimate relationship with nature, regardless of whether they're using the latest digital model, an antique film camera or a smartphone.
Here, the Corys share some tips on how to hone one's photographic skill.
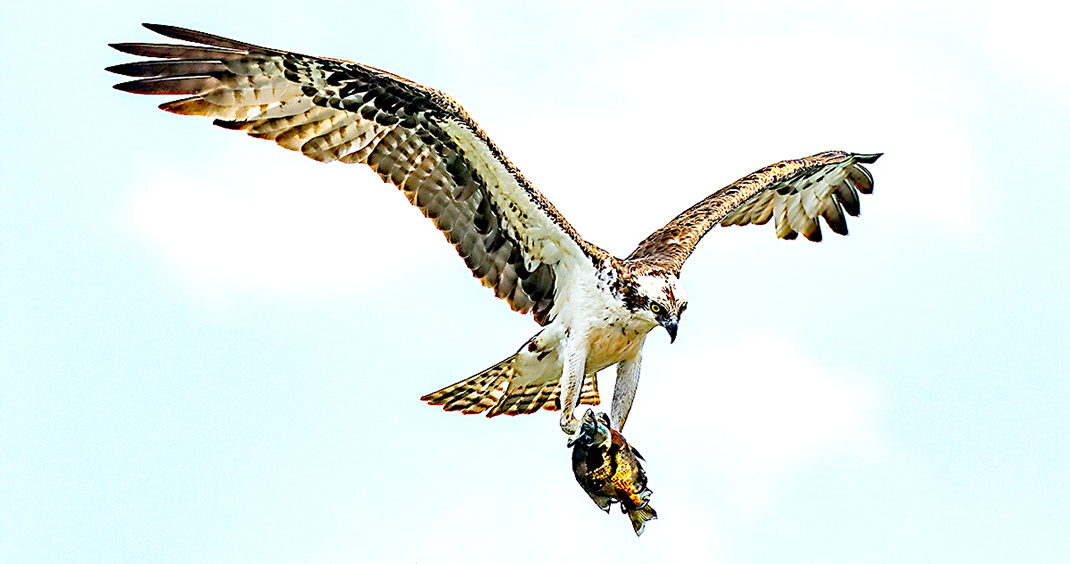
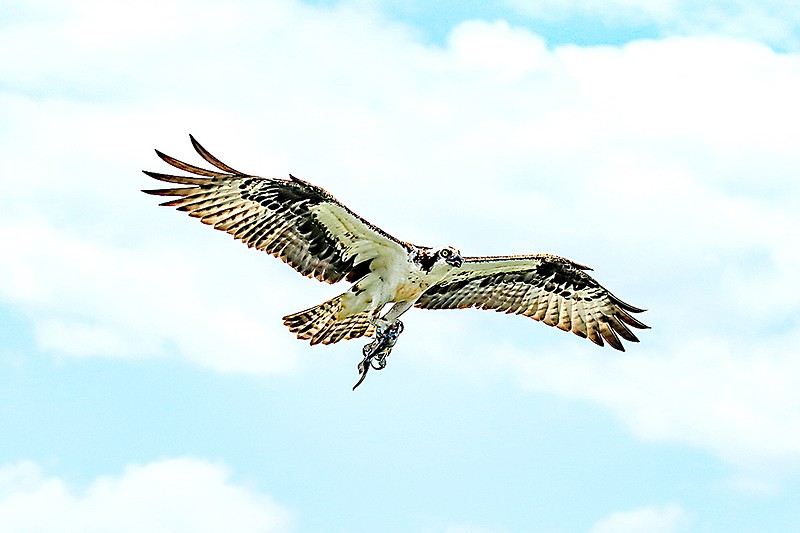
WILDLIFE
Snap first, think later. If you see the creature you've been tracking, don't give it a chance to get away while you find the perfect angle. Take your first picture quickly, and then start thinking about how you can improve it. If all else fails, Tom says, at least you've got a nice memory.
Keep your distance. "If you've caused the animal to change its behavior, you've made a mistake," Tom says. Respect your subject (and protect yourself) by using a longer lens in the wild. Wildlife specialists typically use at least a 300mm telephoto lens to shoot from 30 or more feet away. However, such equipment can cost upwards of $750 to buy or $70-plus to rent, depending on the model. You can also purchase telephoto lenses that attach to your smartphone for prices that start around $20.
Visit the zoo. You might have to shoot through glass or wire, but a trip to Chattanooga Zoo can help you learn to track animal movement and try out different techniques before the real deal.
Learn to sit still. At least when you're taking photos of birds, anyway. Over the years, Tom and Pat have learned that birds don't react to them as much when they're sitting down. Photographers are likely to discover such tricks about any species' behavior the more time they spend studying it.
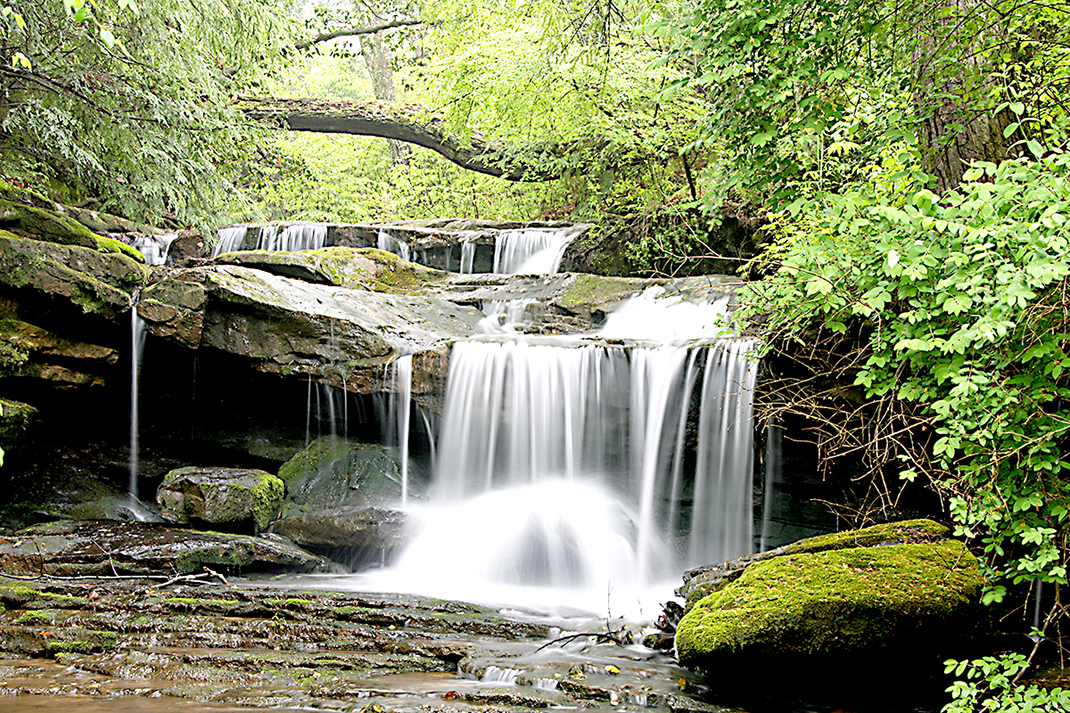
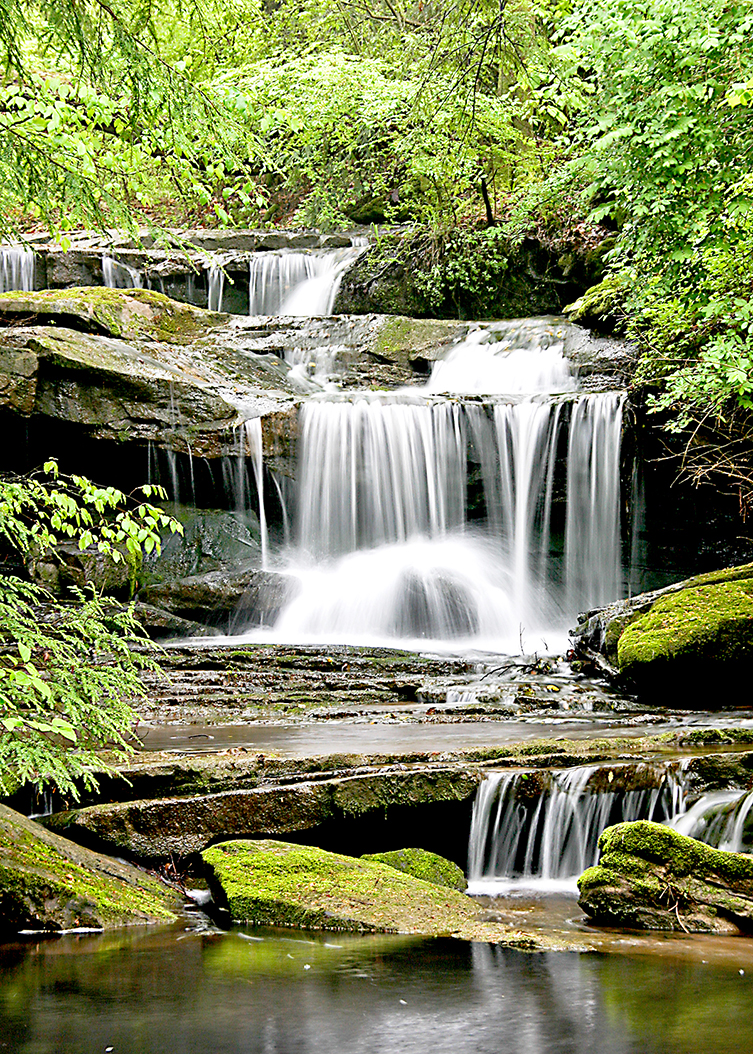
WATERFALLS
Time your trip. Direct sunlight can make a waterfall look flat and uninteresting; it's best to shoot them on cloudy, overcast days, or during the "golden hours," which generally occur before 10 a.m. or after 4 p.m. Also avoid heading out for a shoot after a drought, as the fall may be without water.
Vary your shutter speed. This, in turn, will change the amount of motion blur in your image. A fast shutter speed will freeze the water, lending more detail. A slower shutter speed will give the water a silky, soft quality that illustrates movement. It'll all come down to what you like best, Pat says.
Frame your shot. You don't want a plain picture of a waterfall against a blank sky. Add some color by panning back and shooting the falls with mossy boulders or autumn leaves in the foreground.
Look for the photo within the photo. You may notice there's a picture - or several pictures - within each photo you've taken. Pat advises defining what grabs you, then focusing on capturing just that on your next snap.
She also recommends shooting vertically to cut out elements that don't pertain to your main subject.
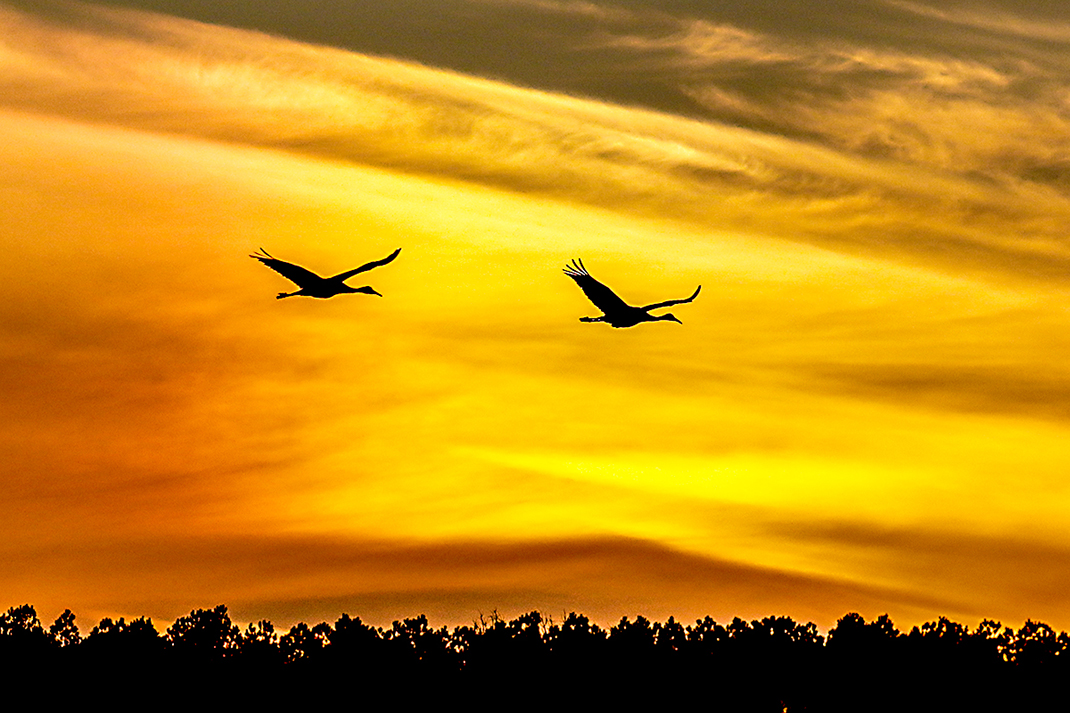
SUNSETS
Never stare directly at the sun. Especially not through a telephoto lens, which will magnify the brightness and can damage your eyes.
Watch the clouds. The best sunsets, in Tom's opinion, are those that feature something in the sky. High, thin clouds will add texture to your photo and make the lighting more dramatic. Checking the weather and learning to predict cloud coverage could be the difference between a good sunset shoot and a great one.
Stick around after the sun sets. Leaving too early is one of the biggest mistakes photographers make, Tom says. Some of the most beautiful colors in the sky come 20 or 30 minutes after the sun has dipped behind the horizon but its light is still reflected off the clouds.
SOLAR ECLIPSE
On Aug. 21, the continental United States will be treated to the first total solar eclipse it's seen in 38 years, allowing local photographers to snag spectacular shots - if they're prepared. Since this eclipse will last only 2 minutes and 40 seconds, we compiled some additional tips to help you make the most of this fleeting celestial event.
1. We can't stress this enough: Never stare directly at the sun. Before the event, consider purchasing inexpensive eclipse glasses to help block the harmful rays.
2. Just like your eyes, your camera also needs protection. You can purchase a filter for $100 or more, depending on size, or make your own using optical Mylar film, the same material used to make eclipse glasses. Just make sure the film covers the entire camera lens so there are no light leaks.
3. Practice finding the sun with the filter fitted on your camera days before the eclipse so you're ready for the real thing. To get an idea of how your images will appear, you can test your lens by photographing the moon.
4. Scout out your viewing area and find some tall natural features, like trees, to frame the eclipse.
Exercises
Angles: Find a flower and photograph it from as many angles as you can find - above, below, at its level, from different sides. Notice how the background and the subject itself change with each move. Many of the photos will be throwaways, but the ones that surprise you will prove there's more than one way to see a flower, just like the other subjects you'll photograph in nature. Lighting: Find a tree and take a picture of it from four different positions: (1) with the sun behind the tree, (2) with the sun behind you, (3) with the sun to the right, and (4) with the sun to the left. Repeat the exercise with the same tree on a cloudy day, then do it all over with another object. This exercise will teach you which types of light are good for which subjects, allowing you to be flexible in the field. "The key is recognizing there's no bad light, only bad light for certain subjects," Tom says. "There's always something, regardless of time of day, that you can work with."