
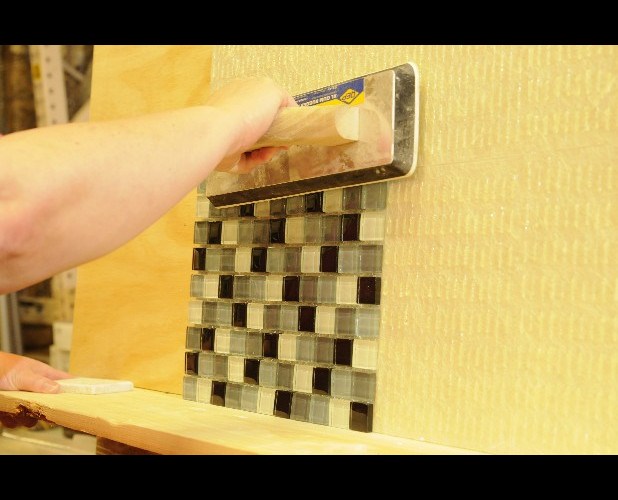
 Step 1: Home Depot instructor Charles Murphy shows how to to apply SimpleMat, an adhesive backing for glass tile that is less messy than Mastic and faster since the adhesive backing doesn’t have to set up overnight.
 Step 2: After unwrapping the tile square, use scissors or a utility knife to cut the tile to size, making sure to cut the back webbing as close as possible to the tile.
 Step 3: Peel the film off the front of the SimpleMat where the tile will be placed. Curl the tile forward, as shown, so that only the bottom row dangles loosely.
 Step 4: Melody Goodwin applies the first tile square on a practice board, starting at what would be the bottom of the backsplash. Place the loose bottom row into position, then unroll the square upward, pressing into place as you go.
 Step 5: When the tile is in position, use a grout float to press it firmly to the adhesive SimpleMat.
WHAT YOU NEED• Glass tile• SimpleMat Tile-setting mat• Trowel• Premixed grout• 2-inch painter’s tape• Wet saw with glass tile-cutting blade• Grout float• Sponge• Water bucket• Scissors• Tape measure/yardstick• Utility knife• Safety glasses• Drop cloths or brown paper• Clean rags or towels
Melody Goodwin has bought the glass tile to update her kitchen backsplash.
Now she just needs to know what to do with it.
So the Cleveland, Tenn., resident came to a “do-it-herself” workshop at the East Brainerd Home Depot, where she got a hands-on lesson in tile installation from Home Depot sales associate Charles Murphy.
Glass tile has become the must-have kitchen update since its introduction about two years ago. Murphy says as soon as the glittering mosaics hit the market, homeowners began asking how to install it. And there are plenty of folks who are willing to expend a little elbow grease to save a lot of money.